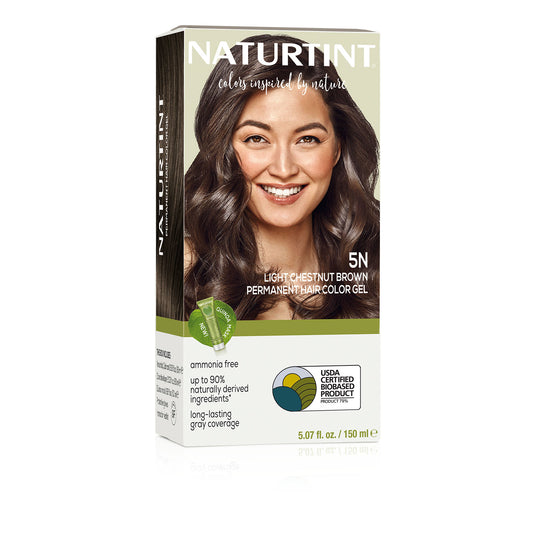
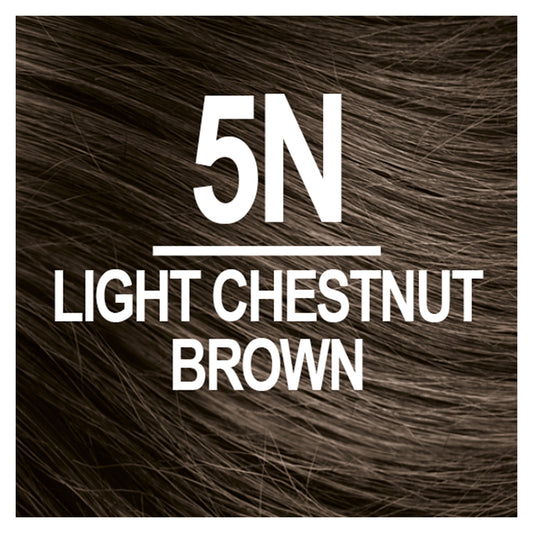
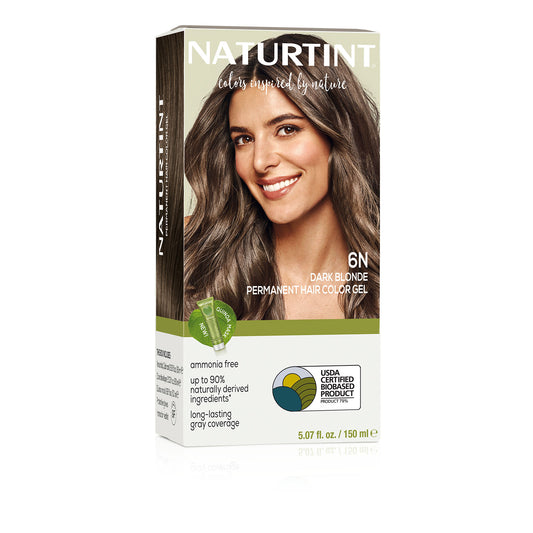
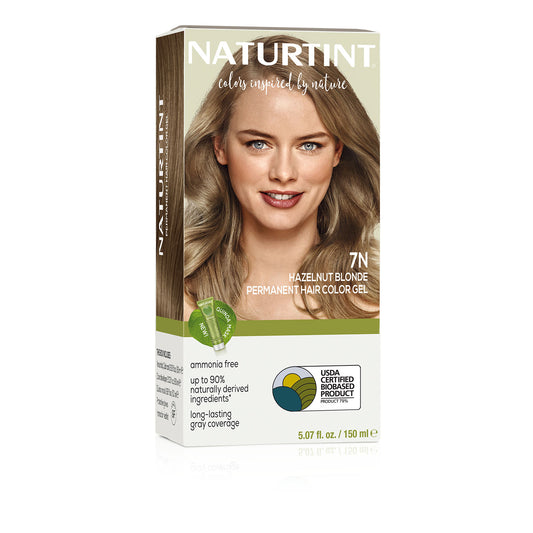
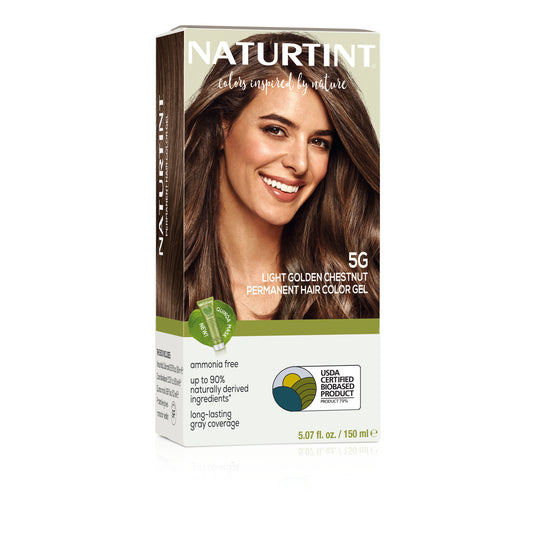
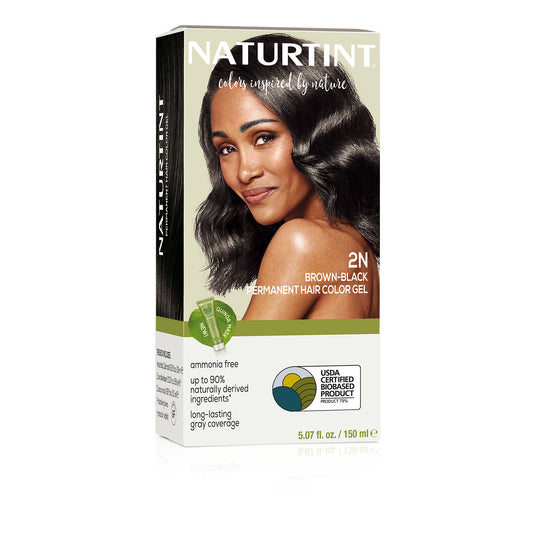
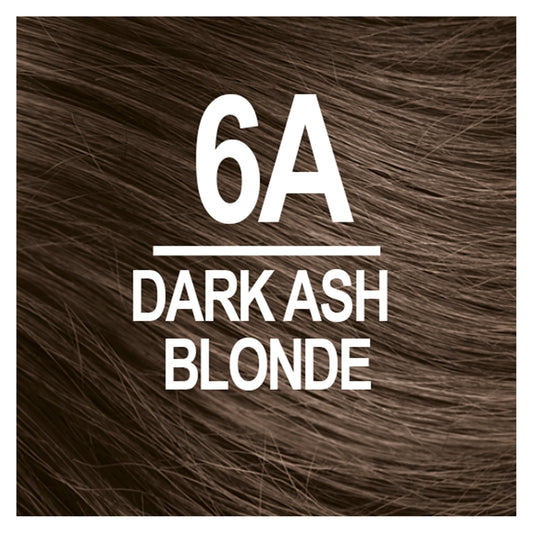
Nowadays, there are multiple benefits to coloring your hair at home. From the time saved driving back and forth to a salon, to the money you get to spend on something else, to the confidence of knowing you’ll get a result you love, both your wallet and your hair will thank you for coloring your hair at home!
If you’re overwhelmed thinking about all the supplies you’ll need to gather and the steps you’ll need to take to ensure you end up with the color you’re hoping for, don’t worry because we’ve got you! Follow along as we walk you step by step through everything you need to know to apply Naturtint’s permanent hair color at home and get the hair color of your dreams from the comfort of your own home! If you happen to be using a different brand of permanent hair color the steps may vary, so be sure to check the instructions that come in the box.
And, for a quick reminder of all the supplies you’ll want to layout for easy access throughout the coloring process, check out our list here.

Tips for preparing and mixing your hair color at home
Before you apply the hair color, you’ll want to make sure to prep your hair and hair color to achieve your desired results. We know that coloring your hair at home can be scary and overwhelming at first, but if you take a few steps to prepare, you’ll be coloring your hair like a pro in no time!
how to perform a skin sensitivity test
Any cosmetic product can cause an unexpected allergic reaction. That’s why you should always do a skin sensitivity test 48 hours before you color your hair, even if you’re an at-home hair coloring regular. An important reminder, if you’re experiencing scalp irritation or you have damaged or broken skin, you should wait to complete the skin sensitivity test and color your hair until your scalp is fully healed.
To perform a skin sensitivity test, you’ll want to remove any earrings and cleanse a small (1-2 cm) portion of skin behind your ear and let it dry. Then, mix a small amount of the Colorant and Color Developer and immediately reseal both bottles. Once the mixture is blended, use a cotton swab to apply the mixture to the area behind your ear and allow it to dry. Repeat the application process two more times, each time making sure you’re allowing enough time in between for the area to dry.
Now, you wait… after you leave the mixture on your skin for 48 hours without washing, covering, or touching it, you’ll be able to tell if you’re experiencing any signs of a reaction such as: swelling, redness, blistering, rash, or itching. If you experience any of these symptoms at any point, be sure to rinse immediately and follow up with a doctor to find out what you’re allergic to.
If not, good news… you’ve been given the green light to begin coloring your hair!
how to prep your hair
When coloring your hair, we recommend you wait at least 24-48 hours after washing it to apply hair color. This allows some of the hair’s natural oils to be produced and protects the scalp during coloring.
Also, be sure that your hair is dry and clean before coloring. This step is very important because the buildup of styling products can affect your overall hair color result!
Next, you’ll want to be sure to do a hair strand test to identify your expected final color result and make sure you nail down the correct development time to achieve it. For a step-by-step walkthrough on how to do a hair strand test, check out our post here!
Finally, be sure to protect your shoulders with an old towel or t-shirt to prevent any accidental stains. If you have any other areas you want to protect, use additional towels or rags to line them as well! And, to protect your skin, apply a line of protective cream around the hairline.

prep and mix your hair color
Whenever you’re in contact with the hair color, it’s a good idea to have a pair of gloves on to protect your skin. No need to go out and buy gloves as they’re attached to the instruction leaflet in your Naturtint box! Be sure to put your gloves on to prep the hair color and keep them on throughout the coloring process.
Next, to prep the hair color itself, you’ll want to unscrew the cap of both the Colorant and Color Developer. Then, pour the total contents of the Colorant into the Color Developer bottle (which now becomes the Applicator Bottle) and replace the cap on the Applicator Bottle. Once both the contents are in the Applicator Bottle, shake the mixture for 2 minutes or until the mix is totally blended. Immediately after mixing, be sure to remove the tip of the cap.
Now that the mix is blended, you’re ready for application! Keep reading as we walk you through the next steps!
How to color your hair at home
When should you color your full head of hair versus just coloring the roots? That depends on the look you are going for and how much regrowth you have. The steps are slightly different, so first choose which option applies to you!
option 1: full head
When should you color your full head of hair? We recommend doing this if you’re coloring for the first time, have significant regrowth, or are dramatically changing your color. Here are the steps to color your full head of hair:
1. Once you’ve put on your gloves, apply the mixture to your roots, using the tip of the Applicator Bottle to part your hair into small sections.
2. So far, so good? Great – let’s keep going! Immediately massage the remaining mixture throughout the rest of your hair to ensure that the colorant is evenly distributed.
3. Set a timer and let the mixture develop for 30 minutes. If you’re looking to achieve a more intense color or cover stubborn gray, increase your leave-in time to 40 minutes.
option 2: short hair/roots only
Looking to stay the same as your previous color or just cover regrowth of your natural color in the root area? If so, you may want to consider coloring your roots only versus your full head of hair.
1. Using gloved hands, mix the colorant with the color developer. Make sure to shake the mixture for 2 minutes and be sure to remove the tip of the cap immediately. Or, another option would be to pour the required amount of colorant and developer into a plastic bowl and mix with a brush for 2 minutes or until totally blended. If you go this route, make sure to apply enough mixture to cover your roots using the brush.
2. Now, massage the mixture into your roots and leave to develop for 20 minutes (or 30 minutes if you have stubborn grays).
3. Then, massage the remaining mixture throughout the rest of your hair and leave in an additional 5-10 minutes. You’ll want to make sure your gloves are still on for this step!
For roots only, to achieve a more intense color or to cover stubborn grays, increase the development time to a maximum of 45 minutes. Don’t increase the development time on longer sections of your hair as this may result in uneven absorption!
Bonus tip: if you color your hair regularly (every 4-6 weeks) with the same shade, there’s no need to color the full length of your hair for the full development time. Simply color your roots and then run the color through the lengths of your hair for the last 5-10 minutes of development time for a quick color refresh. This will help to ensure an even result and radiant shine! You can store the remaining unmixed colorant and developer in their original containers with caps tightly secured until your next application.
Rinse and reveal your results!
After you’ve reached your development time, rinse out the mixture (keep those gloves on!) with warm water until the water runs clear. Make sure to rinse well so that no hair color gel remains in your hair. However, if any color residue remains, wash your hair with a pH-balanced shampoo, such as Naturtint’s Color Care Shampoo. Then, rinse again with plenty of warm water.
Next, apply a small amount of the Multi-Care Mask to your hair while still wet. Work from the roots to the tips to ensure that all your hair is covered. This step will help to lock in your beautiful hair color and can be repeated in the weeks following the hair coloring to prolong vibrant color!
You’re so close to being done! For the final step, wait 3-5 minutes and then rinse your hair thoroughly to remove the Multi-Care Mask.
Now, it’s time to reveal your beautiful results! Dry and style your hair before admiring your gorgeous newly colored hair.
As you can see, learning to color your hair at home isn’t quite as intimidating as you thought. By simply prepping your hair and color, and following the directions, you’re sure to achieve a radiant result that rivals any salon!
If you’re looking to keep your hair moisturized, be sure to browse our full line of hair products like our CC Cream Leave-in Conditioner designed specifically to hydrate and protect your hair.


