Coloring the back of your head by yourself may seem like a daunting task if you’ve never done if before. It may make you nervous to even think about! Trust us, we get it. We’ve heard many stories from people who’ve struggled with this before and have asked for our advice on applying color to the back of their hair to ensure beautiful results.
Here’s what one of our customers had to say:
“The first time I colored my hair at 16 years old, I had no idea what I was doing, and the results proved it! I started the coloring process with my hair in a bun and generously squirted the hair color from the bottle onto the top of my head and into my bun without bothering to take much time to massage in the mixture. Then, I waited and hoped for the best. This somehow seemed like the best plan of action at the time. Luckily, it didn’t take long for me to realize that I needed to come up with a new game plan. My results weren’t what I was hoping for and the color was uneven. I didn’t want it to be obvious I was coloring my hair, so it was time to educate myself!
A helpful and simple mantra that I wish I would’ve known the first time I colored my hair is: divide and conquer. Dividing my hair into sections to color made coloring so much easier (and not to mention gave me better overall results). This also took the guesswork out of it and allowed me to focus on coloring section by section.”
Hearing stories like this one just reinforces our mission to make sure you feel confident coloring your hair and know how to get the best results possible. Follow along as we share simple steps on how to color the back of your hair and teach you how to color those hard-to-reach spots!
Related: It’s easier than you think. Learn how to color your hair like a pro.

Steps to Color the Back of Your Hair
- Divide and conquer. Divide your hair into 2 equal sections.
- Then, divide those 2 sections into 2 more equal sections. You’ll now have a total of 4 sections.
- Secure each of the 4 sections by creating “mini-buns” with hair ties to keep each section out of your way when coloring.
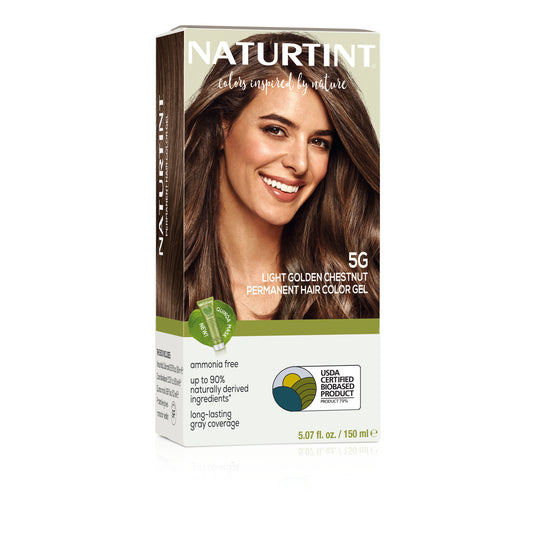
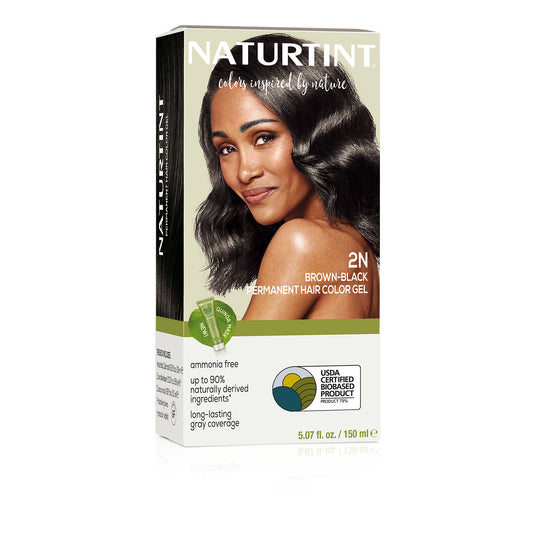
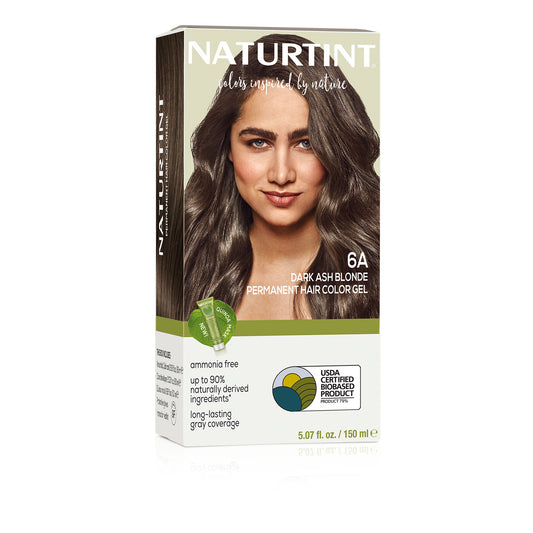
- Put on the gloves that are included in your box of Naturtint permanent hair color.
- Take down the first back section of hair (mini bun) and start applying the hair color by starting near your part and working your way out. Be sure to spend enough time saturating your hair with color and massaging the hair color into your roots before moving on to another section!
- Repeat this process with each of the remaining 3 sections, making sure you don’t miss the areas along your part and hairline. To help you see the back of your head, we recommend using a handheld mirror.
Bonus tip: if you’re touching up your hair color, be sure not to overlap your hair color application onto previously colored hair.
A Hair Color Reminder
You’re probably wondering, “Wait – that’s it?!” Yes, that’s really all there is to it. Give yourself a pat on the back because if you follow these steps, we have no doubt that you’ll end up with beautiful and evenly colored hair! And, best of all, both your current and future self will thank you for not having to spend money at a salon to fix your current coloring job.
Now that you’ve finished coloring your hair, the only things left to do are rinse, condition, and reveal your stunning results. For some quick reminders on what exactly to do, be sure to check out this previous post with all the details here.